If you want to reduce belly fat, you do not need a punishing daily ab challenge. Start with a routine you can repeat: regular walking, a little whole-body strength work and a few controlled core movements. Ab exercises train the muscles underneath; they are not a reliable way to choose where your body loses fat.
The schedules below are starting examples for generally healthy adults who are new to exercise. Seven days is a chance to learn the routine, not a flat-stomach deadline. Thirty and 60 days give you more practice, not a promise of a particular waist size. Here, “two months” means a 60-day planning window; calendar months vary.
If you are pregnant, recently postpartum, recovering from surgery or managing a condition that affects exercise, ask for individual guidance before using a weight-loss plan. Stop with pain, dizziness or feeling unwell. You can shorten any session.
What actually helps with belly fat?
A small randomized study of abdominal training improved endurance without significant abdominal-fat loss. It does not justify a “seven-day belly burn” promise.
CDC weight-management guidance includes eating patterns, activity, sleep and stress. Progress varies. Use the calendar to organize habits, not predict kilograms lost.
Keep the core exercises because you want better control and useful strength. Keep walking because it is a practical way to add activity. Neither needs to leave you exhausted to be worth doing.
Your two short strength sessions: A and B
Clear the floor, choose a solid wall and spend a few minutes moving gently before starting. Begin with one round: about five comfortable repetitions per exercise, or three per side for alternating movements. These are optional starting amounts, not a test. Rest 30–60 seconds between movements, or longer as needed. Finish while you can still control the movement.
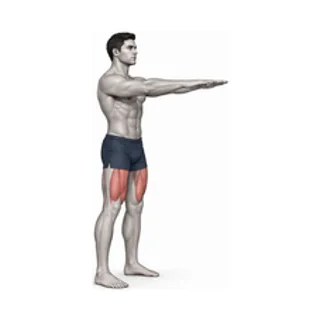
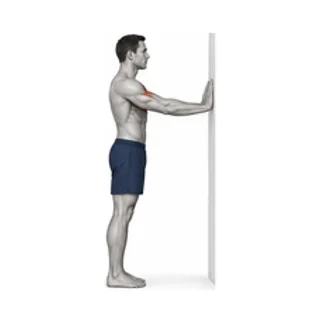
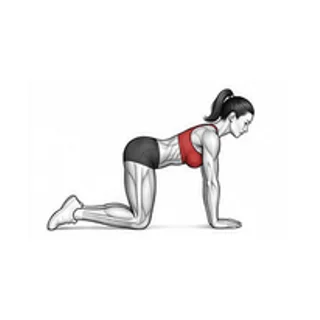
- Session A: squat, wall push-up, then bird dog. Bend only as far as comfortable, use a solid wall, and keep hips steady during the reach.
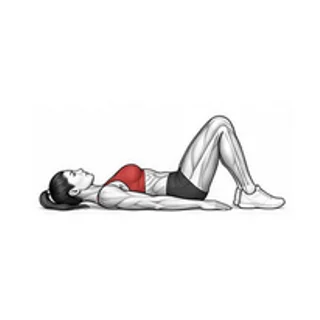
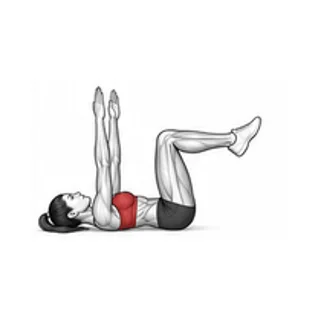
- Session B: glute bridge, wall push-up, then dead bug. Lift the hips without forcing an arch; shorten the dead-bug reach before control is lost.
Easier options matter: use a smaller squat or bridge range, stand closer to the wall, move just one limb in bird dog, or use dead-bug heel taps with the arms still. Read each exercise page before copying its GIF. If getting down to the floor is unsuitable, review the standing starter instead; it is an alternative, not the same session.
After several comfortable visits, you might work toward six to eight repetitions or add a second round. Change one thing at a time. There is no obligation to progress every week, and these introductory sessions are not a complete strength program for every muscle group.
7-day plan: learn the movements
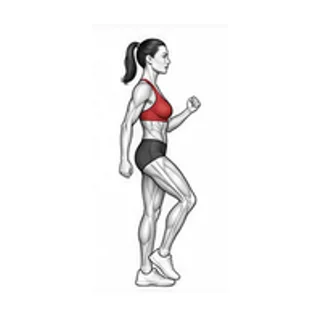
Walk at an easy, manageable pace at first. Indoor marching is an option when it suits your balance and space. Rest days allow normal daily movement; they are not a requirement to stay still.
- Day 1: Walk 5–10 minutes.
- Day 2: Session A.
- Day 3: Walk 5–10 minutes.
- Day 4: Rest or comfortable everyday movement.
- Day 5: Session B.
- Day 6: Walk 10 minutes.
- Day 7: Rest and review what felt manageable.
30-day plan: repeat before making it harder
Days 1–7 follow the plan above. Continue only if it feels manageable; otherwise repeat the first week or reduce it.
- Days 8–14: follow the same seven-day order, using 10-minute walks on days 8, 10 and 13. Sessions A and B fall on days 9 and 12; days 11 and 14 are rest days.
- Days 15–21: walk for 15–20 minutes on days 15, 17, 18 and 20; do A on day 16 and B on day 19; rest on day 21.
- Days 22–28: repeat that pattern. Walking days are 22, 24, 25 and 27; A is day 23, B day 26, and rest day 28.
- Day 29: session A if recovered. Day 30: a comfortable 15–20-minute walk, or rest, followed by a short review.
Split walks into smaller outings if that works better. Do not turn missed sessions into a double workout. Keep the next planned day or repeat the easier week.
Two-month plan: days 31–60
Keep at least a day between A and B. For days 31–37, use this order: walk, B, walk, walk, A, walk, rest. Repeat the same order on days 38–44, 45–51 and 52–58. Day 59 is an optional walk; day 60 is rest and review.
The four walking days can be 20–30 minutes each if the earlier walks felt comfortable. They total 80–120 minutes, not automatically 150. Start lower or stay with the first month when needed. CDC adult activity guidance gives a longer-term goal of 150 moderate-intensity minutes and two strength days weekly. Build toward it gradually rather than forcing it by day 60.
An easy stroll is useful movement but may not be moderate-intensity activity. The talk-test guide explains the difference. Do not count rests or the full strength-session timer as aerobic minutes.
Food, recovery and a useful progress check
Choose one change you can maintain, rather than a detox or a strict crash diet. NIDDK’s eating and activity guidance pairs sustainable food choices with activity. For example, plan an ordinary balanced meal or replace a sugary drink you routinely have. Individual dietary needs differ; ask a qualified professional when you need a tailored plan.
Once a week, note walks completed, strength sessions, comfort and recovery. A steadier reach or an easier walk is useful feedback even before appearance changes. If you choose to record waist size or weight, use comparable conditions and look beyond day-to-day fluctuations. Neither measurement tells you how much internal abdominal fat you have.
At days 7, 30 and 60, ask: Can I repeat this comfortably? Does it fit my week? What one small change would help? Keep what works. You do not need a harder plan simply because the calendar moved on.
Published by DailyHomeFit. Sources checked on 25 October 2026. The schedules are editorial examples, not a clinically tested program or individual medical advice. Cover image is AI-generated; exercise demonstrations come from the site’s existing library.



 Pedal Resistance Trainer
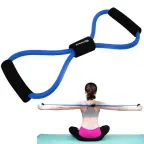 Figure-8 Resistance Band
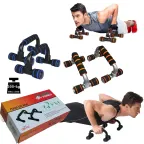 Foam-Grip Push-Up Bars
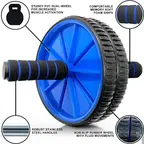 Dual-Wheel Ab Roller with Knee Mat
 Adjustable Jump Rope
 Adjustable Hand Gripper
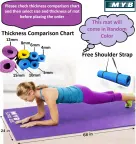 6 mm Exercise Mat
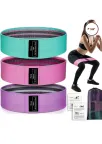 Fabric Resistance Loop Set
 Yoga Stretching Strap
 EVA Foam Yoga Block