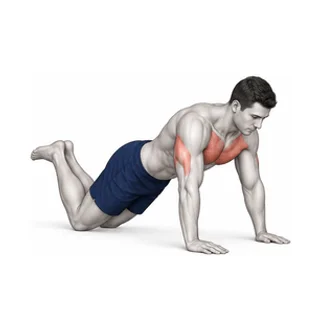
A knee push-up gives you a supported way to practise a floor press. Before repeating it, find a starting position you can hold comfortably and a lowering distance you can control. You do not need to touch the floor or keep pace with an animation.
This guide is about setting up and using the movement in a home session. The knee push-up exercise page has the demonstration and basic instructions. “Beginner” describes the listing, not an assessment of your wrists, knees or fitness. If support through the hands or kneeling is unsuitable, choose another activity or seek individual advice.
Prepare the mat and your screen
Use clear, stable floor space with room to lower and return without reaching furniture. Check how you will kneel and stand up before a timer starts. Put the screen somewhere you can review it beforehand, rather than twisting to watch while your hands carry your weight.
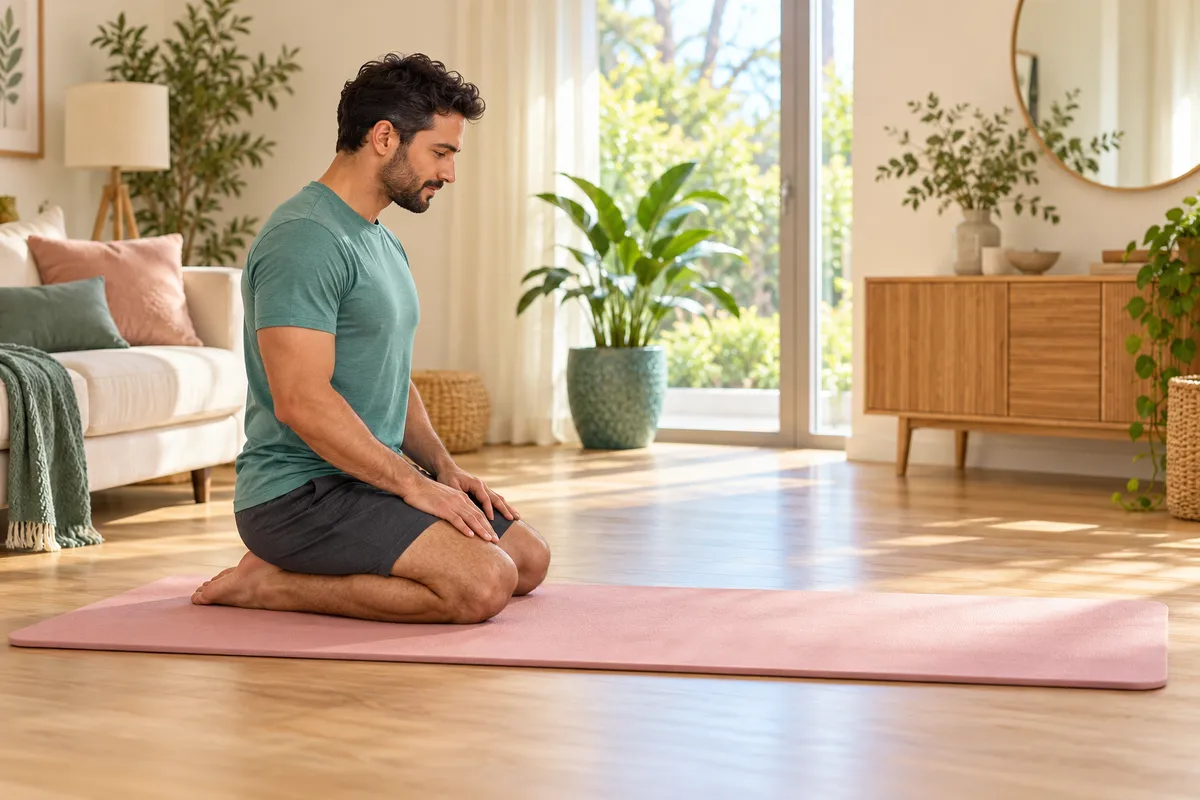
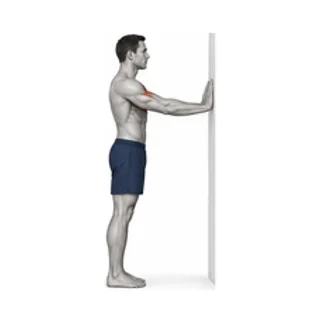
The site lists a mat for this exercise. It provides a surface under the knees; it does not solve a painful joint or tell you whether kneeling is appropriate. Review the wall push-up if you prefer a standing option. That version needs a solid wall and reliable footing.
Separate the movement into three parts
- Settle first: use the library’s starting position, with hands below the shoulders, supported knees and hips aligned with the torso.
- Lower: bend the elbows through a comfortable range, keeping the hips and torso moving together. A short, coordinated movement is preferable to forcing depth.
- Return: press back smoothly and settle before another attempt. Continue breathing instead of holding your breath to finish.
The NASM modified push-up guide describes the chest and triceps as main contributors. The rest of this setup should still be judged by control and comfort, not by trying to feel a particular muscle burn.
Three signs to pause and reset
- The shoulders lower while the hips stay behind or drop suddenly: shorten the movement or stop to reset.
- You rush the return or immediately fall into the next repetition: take a pause instead of chasing the GIF’s pace.
- You hold your breath or feel pain: end the attempt. Pain, dizziness or feeling unwell are reasons to stop, not signals to finish the timer.
Mayo Clinic’s modified-pushup demonstration also emphasizes steady alignment and controlled movement. It is further reading, not a review of your technique or an endorsement of DailyHomeFit.
Choose the easier option before starting
The exercise page suggests a smaller lowering range or a wall version. Make that choice before a timed interval if possible. Changing the support changes the setup: the wall option removes the floor transition, while the knee version still requires space to get down and back up.
There is no required number of sessions before you move to full push-ups. A familiar setup and a steadier return are useful progress. More depth and a different support position can wait.
Allow time for the actual session
Chest foundations contains nine 30-second intervals: six wall push-up entries and three knee push-up entries, with 15-second rests between them. Repeated cards are planned repetitions of those two movements, not nine different exercises.
Read the order before starting. Pause if you need more time to move between standing and the mat, and stop before the interval ends when control fades. The timer cannot see your form or decide how much rest you need. This chest-focused session is not a complete weekly training plan.
For the wider starting point, read Bodyweight Exercises for Beginners. Published by DailyHomeFit; sources and session records checked on 26 October 2026. General adult fitness information, without a personal assessment or professional-review claim.



 Pedal Resistance Trainer
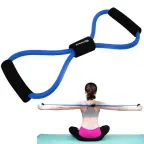 Figure-8 Resistance Band
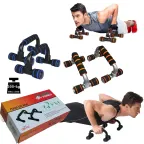 Foam-Grip Push-Up Bars
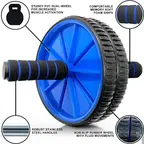 Dual-Wheel Ab Roller with Knee Mat
 Adjustable Jump Rope
 Adjustable Hand Gripper
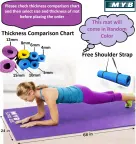 6 mm Exercise Mat
 Fabric Resistance Loop Set
 Yoga Stretching Strap
 EVA Foam Yoga Block